Manual · The Art of War
Battles
How a fight is joined and won: deployment and reserves, activations, attacks and retaliation, shooting and sight lines, objectives, and what survives.
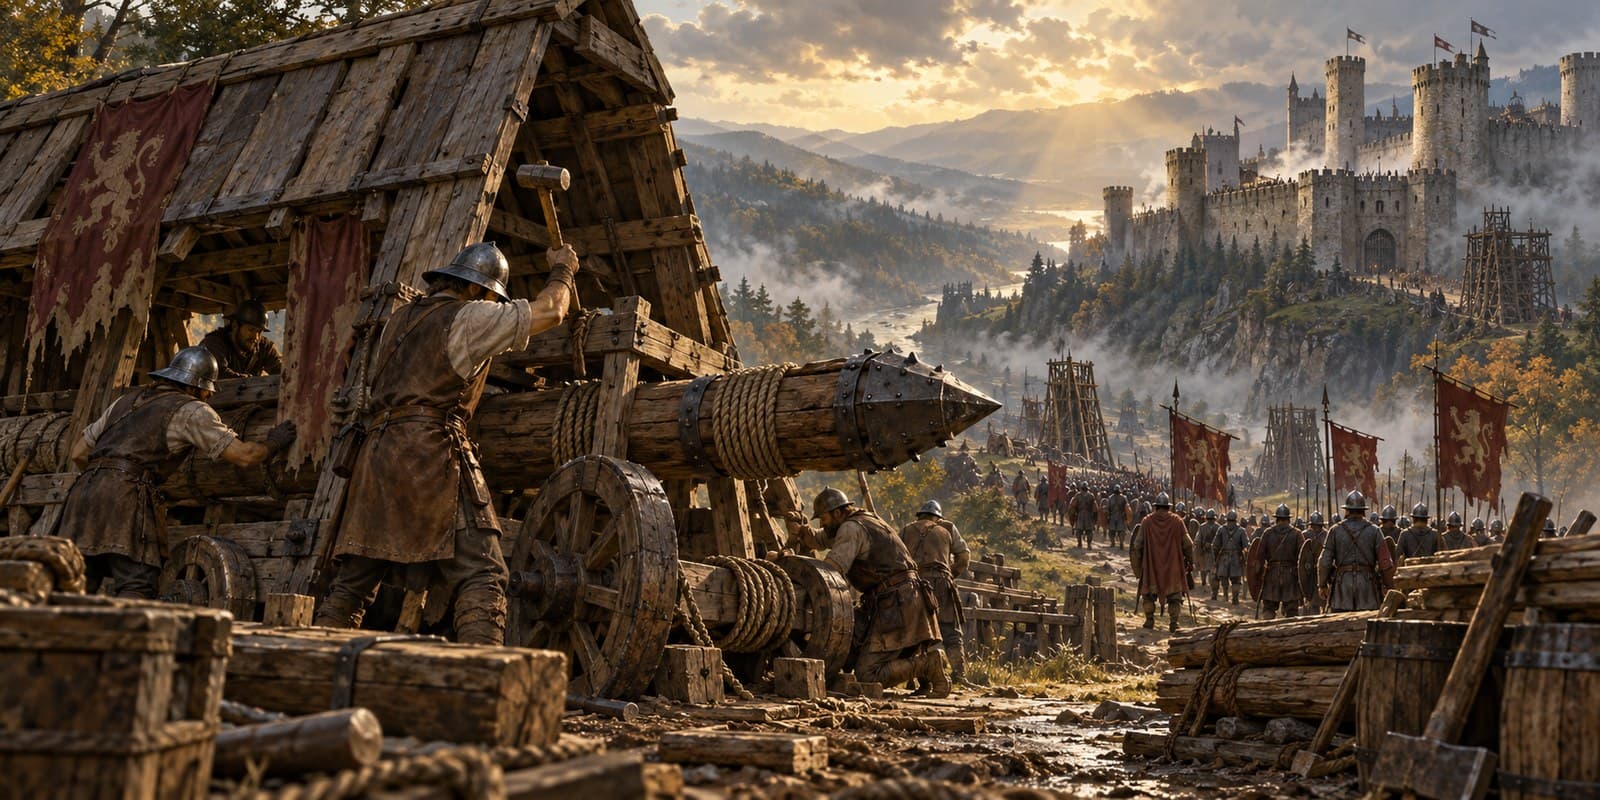
How it works
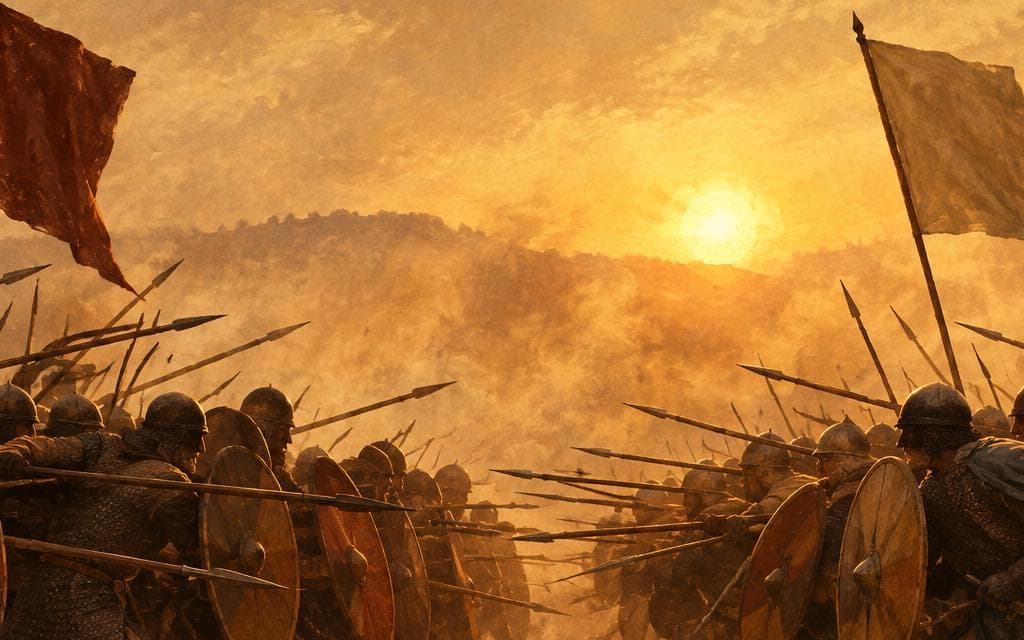
Giving battle
Move a company onto an enemy force and confirm: the battle opens on the field itself, and you command each of your formations there directly. The map is the ground around the encounter — its terrain, and its walls if a castle is attacked.
Nothing about the campaign pauses: the committed companies are in the fight until it is decided, and the outcome writes itself into the war — captures, casualties, and all.
The field and deployment
Each side fields a fixed ceiling of formations at once; the rest wait as an ordered reserve queue, entering at their side's turn start onto free legal ground in their own zone — never through walls — as the field clears.
If a side cannot deploy at all and its reserves have no way in, the field is lost to deployment overrun before a blow is struck. Numbers you cannot bring to bear are not numbers.
Activations
Formations act one at a time on their side's turn. An activation spends movement across the field — the allowance by troop type, hex costs by ground — and may then attack or brace. Attacking ends the activation outright; so does bracing.
The order you activate in is the first tactic of the field: screen first, shoot from stillness, and keep the line's braces for the enemy's turn.
Attacks and retaliation
A strike's damage is the attacker's attack — raised by rank, by a cavalry charge on open ground, blunted by its own wounds — against the defender's defence, raised by rank, by the cover of its ground, and by the walls it fights from. Previews show the honest arithmetic before you commit.
A melee defender that survives strikes back at a fraction of its normal blow, once per enemy side-turn — everyone retaliates except Archers, who never do. Multiple attackers into one defender each face its counter; plan the second blow to land after the first has softened it.
Shooting and sight lines
Archer fire lands across the field at range, over the heads of friends: intervening woods and high ground block the shot, formations never do. A still formation with the volley rank shoots a steadier, harder volley than one that skirmished.
On a fortress field the walls join the block — with one exception both sides must respect: a formation in a parapet cell may shoot outward across the wall it defends, and be shot at in return, under cover.
Objectives
Most fields are open battles: they end when one side's formations are destroyed, surrender, or can no longer field. A field battle at an authored crossing may instead be fought to hold it — the defender wins by holding the crossing through complete checkpoints, and the attacker resets the count by contesting it.
A cut-off force striking back toward its own supply network fights a breakthrough: it wins not by annihilation but by marching its formations off the defender's edge — and those that escape survive on the campaign even if the field is lost. Fortress assaults have their own objective: see Sieges and Engineers.
Leaving, and surviving
Surrender is always available, with a confirmation, and costs the field. Otherwise the field decides, and every surviving formation returns to its own company — carrying its wounds, its readiness band, and its experience.
Survivors enter the next battle by readiness band, recover one band per resting owning turn, and repair lasting strength only through replenishment. Battles do not delete armies in an afternoon; they spend them, and the spent parts are slow to come back.
Rules, exactly
Exact values from the current build — not advice, not flavour.
- Open field
- 11×9 hexes — fortress assaults fight on their own larger field
- Formations fielded
- 12 per side — the rest wait as a reserve queue, entering at their side's turn start
- Battle health
- 10 — a fresh formation; readiness and strength scale entry health
- Retaliation
- 60% of normal damage — a surviving melee defender's counterstrike, once per enemy side-turn — archers excepted
- Ranged range
- 1–3 hexes — archers only; the Longbow rank extends the maximum to 4
- Hold-the-crossing checkpoints
- 3 — complete checkpoints the defender must hold to win a crossing battle
- Breakthrough exit share
- 50% — of the committed force, rounded up and never below one formation